Kubernetes Hands-on
Content:
Lab 2: Deploy ToDo app
In the previous Docker 101 workshop, this was the command to deploy the ToDo app stand-alone without database.
Do not run this command! It is only here for reference!
docker run -dp 3000:3000 todo-app
todo-appis the name of the container image that was created when following the Docker tutorial.-p 3000:3000maps Container port 3000 on local port 3000.
An equivalent Kubernetes deployment would look like this (file deploy/todo-v1.yaml):
apiVersion: apps/v1
kind: Deployment
metadata:
  name: todo-app
  labels:
    app: todo
spec:
  replicas: 1
  selector:
    matchLabels:
      app: todo
  template:
    metadata:
      labels:
        app: todo
    spec:
      containers:
      - name: todo
        image: haraldu/todo-app:latest
        ports:
        - containerPort: 3000
- The ToDo app runs on port 3000.
- The
image:tag points to my version of the todo-app container image on Docker Hub (haraldu/todo-app:latest).
=======================================================================================
FYI
This section is For Your Information only, don’t use it during this workshop. There is no need to build your own container image. This is for your reference in case you need to make your own container image available to Minikube without using an external repository like Docker Hub.
There are two methods to load a local image into Minikube:
-
Method 1
If you already built the image (
todo:latest) in your local Docker environment, the following command will load this container image from your local Docker image store into Minikube’s Docker image store:minikube image load todo-app:latest -
Method 2
Build the image directly in the Minikube internal Docker environment. To do so, point your docker CLI to Minikube’s Docker environment:
eval $(minikube docker-env)To see if this worked, execute:
docker imagesYou should see all the container images that make up Kubernetes coming from the k8s.gcr.io repository.
Now simply build your image using the usual
docker buildcommand. The docker CLI will transmit the build context into Minikube and Minikube’s Docker will build the image and store it within Minikube.
To use the image from Minikube’s own repository, you will have to modify all deployments for your app to use the Minikube local version of the image and change the ImagePull Policy to ‘Never’:
    spec:
      containers:
      - name: todo
        image: todo-app:latest
        imagePullPolicy: Never
With imagePullPolicy: Never Kubernetes will use your image locally stored in Minikube. The default however is imagePullPolicy: Always which will try to pull the image from Docker Hub which will fail because there is no such image on Docker Hub. The bad thing is that Kubernetes will only show a failed pod (container creation failed) and you will need to figure out why it fails …
/FYI
=======================================================================================
Deploy to Kubernetes
-
Apply the configuration:
kubectl apply -f deploy/todo-v1.yaml -
Check the result with
kubectl get pod NAME READY STATUS RESTARTS AGE todo-app-f8549b989-9cbdr 1/1 Running 0 44s -
Check the logs with
sternstern todo + todo-app-f8549b989-9cbdr › todo todo-app-f8549b989-9cbdr todo Using sqlite database at /etc/todos/todo.db todo-app-f8549b989-9cbdr todo Listening on port 3000This means the app started on port 3000 and is using sqlite.
Note: Exit
sternwithCtl-CorCmd-C.
Accessing the ToDo app
Now how can you access the ToDo app?
Method 1: Port-Forwarding
You can use Kubernetes port-forwarding to access a specific pod. It is for testing purposes, only.
-
Determine the name of the pod (the name of the pod will be different for you):
kubectl get podResult should look similar to this:
NAME READY STATUS RESTARTS AGE todo-app-7cdfc755c-cq2g2 1/1 Running 0 3m10s -
Use the pod’s name to establish port-forwarding:
kubectl port-forward todo-app-7cdfc755c-cq2g2 3000:3000This command appears to do nothing and will block your terminal session as long as you need the “port forwarding”. Use
Ctl-CorCmd-Cto terminate the command. -
Open your browser on http://localhost:3000
What happens if you redeploy or restart the pod? Your pod gets a new name. This means you have to determine the new name and change your port-forwarding command accordingly.
What happens if your application is scaled up to more than one pod? You can only access one (1) pod at a time using port-forwarding.
Port-Forwarding may be OK to access an application for testing purposes. But if a Microservice A needs to access Microservice B, using the pod name that can change at any time is not a valid solution.
There must be a better way to do this! Indeed, it is:
Method 2. Kubernetes Service
Kubernetes Pods are created and destroyed to match the desired state of your cluster. Pods are non permanent resources. If you use a Deployment to run your app, it can create and destroy Pods dynamically.
Each Pod gets its own distinct name and IP address, however in a Deployment, the set of Pods running in one moment in time could be different from the set of Pods running that application a moment later.
This leads to a problem: if some set of Pods (call them “backends”) provides functionality to other Pods (call them “frontends”) inside your cluster, how do the frontends find out and keep track of which name or IP address to connect to, so that the frontend can use the backend part of the workload?
Enter Services.
In Kubernetes, a Service is an abstraction which defines a logical set of Pods and a policy by which to access them. The set of Pods targeted by a Service is usually determined by a selector. The Service also provides a defined name.
This is the Service definition of the ToDo app (file deploy/todo-service.yaml):
apiVersion: v1
kind: Service
metadata:
  name: todo
spec:
  selector:
    app: todo
  type: NodePort
  ports:
    - protocol: TCP
      port: 3000
- The selector is
app: todoand matches the selector.matchLabels in the Deployment configuration above. - It exposes port 3000 and is of type NodePort which allows us to access the service externally.
Apply with:
kubectl apply -f deploy/todo-service.yaml
Check with:
kubectl get service todo

NAME   TYPE       CLUSTER-IP       EXTERNAL-IP   PORT(S)          AGE
todo   NodePort   10.106.198.138   <none>        3000:30078/TCP   11s
Notice in the PORT(S) column the notation 3000:30078. This means that the container port 3000 is mapped to NodePort 30078 on the external IP address of your Kubernetes cluster = Minikube.
Minikube provides an easy way to access the NodePort:
minikube service todo
This command will open your browser to the correct IP address and port. In addition, on Mac and Windows it will first create a tunnel into the VM running your Minikube cluster, giving you network access to it.
Note: If you (or Kubernetes) redeploy the app, all data is gone because it isn’t persisted, the app uses a built-in sqlite database which resides inside the container, stores its data inside the container, which is destroyed on redeploy.
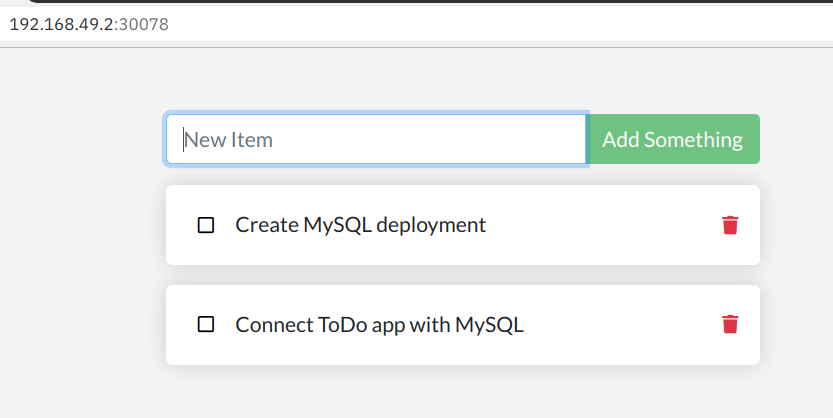
Next Step: Create MySQL deployment